Tuesday, December 28, 2010

Merry Christmas to all and to all a good night!

Sorry I’m a day late and a dollar short on this post! I’ve kinda just been taking it all in!

Another Christmas has come and gone! Presents opened, toys out of boxes, wonder and excitement in our eyes! I love reliving it all through my children! Here are some highlights of our amazing day!

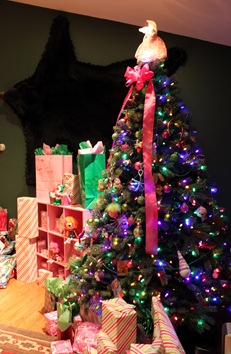
A quick photo shoot before leaving to go to Great Gma and Gpa’s house on Christmas Eve

xmas2010 002copyxmas2010 004copyxmas2010 003copy

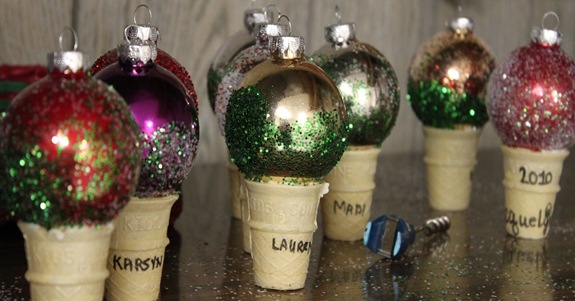
Grandma “T” brought the most adorable ice cream ornaments for the kids to make!

xmas2010 047co

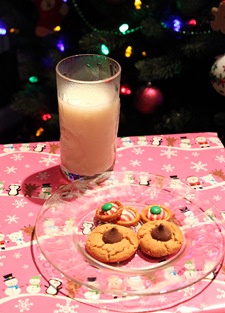
       Milk and Cookies for Santa                  I think the girls were really good this year!

xmas2010 050coxmas2010 063copy

xmas2010 084copyxmas2010 090copy

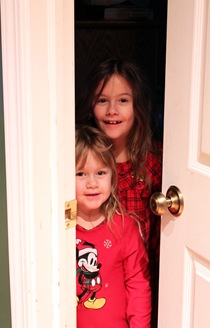
      Peeking out the bedroom door

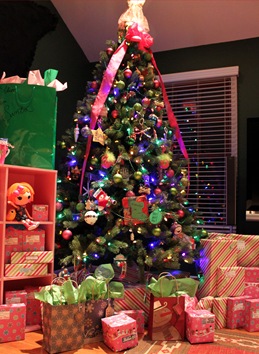
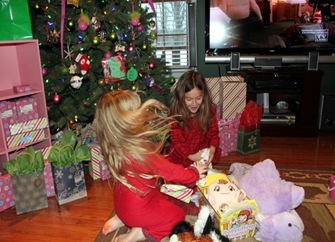
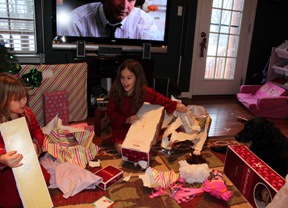
    about 7:30am Christmas morning              Let the Unwrapping begin!

xmas2010 092copyxmas2010 122copy

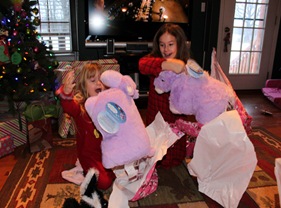
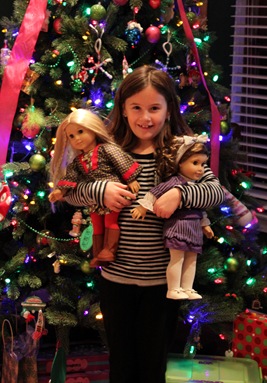
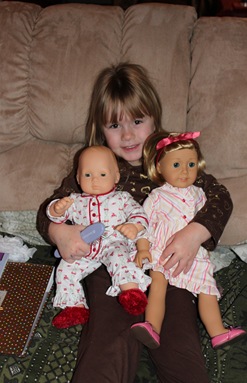
The girls, SUPER excited about their Pillow Pets.      We had an American Girl kinda

                                                                                                   Christmas!       

xmas2010 117copyxmas2010 130copy

        xmas2010 252coxmas2010 269

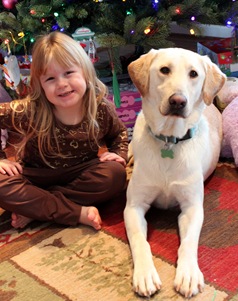
                                                             BEST DOG EVER!!


xmas2010 230copyxmas2010 241co


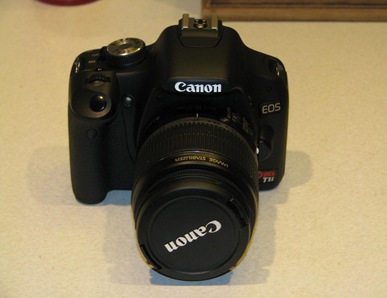
Oh, and how can I leave this out? Merry Christmas to me!!

006

Now if I can just figure out how to use it!!


Hope everyone had a fantastic Holiday with great friends and fabulous family! Merry Christmas to all and to all a good night!


jeanamarie

Monday, December 20, 2010

Last Minute gifts, Homework box

Practical yet super fun!

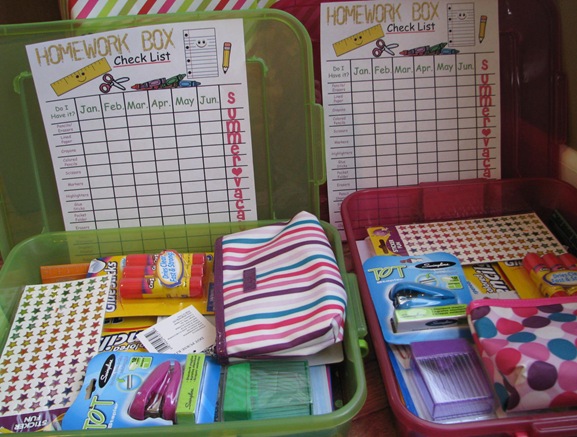
A couple of weeks ago the big sister brought home a paper from school that was given to her by her teacher. It was all about how busy family life has gotten and how important it is to keep organized with homework. It stated that it really doesn’t matter where you do your homework only that if you were organized and had the right supplies it could get done. Weather at home or while waiting for you next dance class to start…. (the big sister takes 4 different classes this year and on wed. has good chunk of time between classes we usually work on her homework then.) all you need is a homework box to get the job done!  I tucked the paper away thinking that I would make each of the girls a “homework box” for Christmas. This would be a super CUTE back to school gift but since I just got the idea Christmas it is!

Here’s what you need to make your own homework box…..

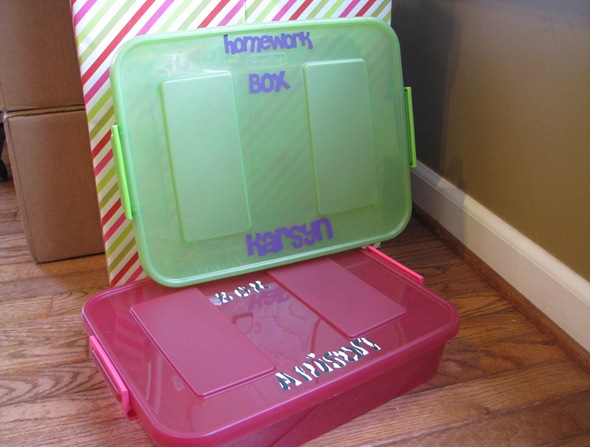
Containers big enough to hold the essentials but still small enough to be taken on the go

I found mine at Walmart and they work perfectly

004

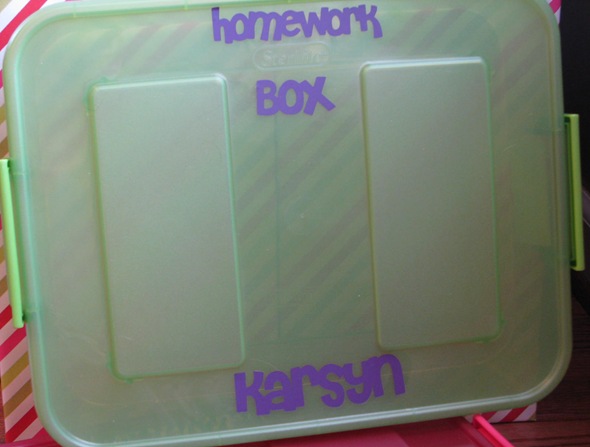
You can label your box or leave plain.  I chose to label it since I have to make two and labeling=no fighting around here! I used Vinyl cut with my cricut, but any permanent marker or paint marker or sticker label would work great.

005

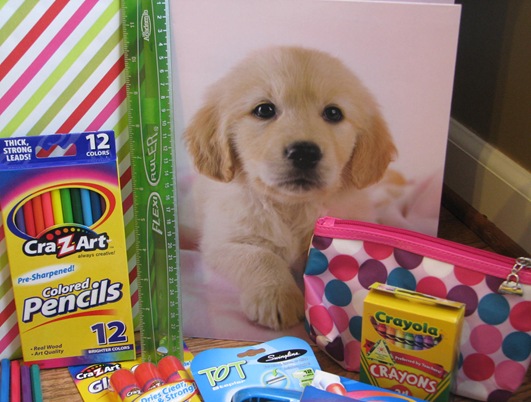
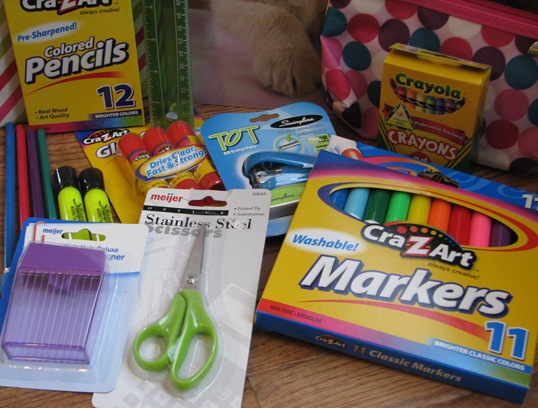
Age appropriate school supplies. In this case I used the list that the teacher suggested. (The big sister is in 2nd grade) I was going to put some coloring books and more age appropriate things in the little sister’s box but I knew that if they didn’t have the “same” supplies in their boxes that would just be a headache for me! “Why didn’t I get a stapler? or why don’t I get fun coloring books in my box?” Just like the labels, same items=no fighting. Here is what we used…..

  • Markers
  • Lined Paper
  • Crayons
  • Colored Pencils
  • Pencils
  • Erasers
  • Pocket Folder
  • Highlighters
  • Scissors
  • Glue Sticks
  • Pencil Bag (I absolutely could not find pencil bags?? I used makeup bags instead. They just barely fit the pencils but they should work for now.)
  • Pencil Sharpener
  • Ruler
  • Stapler/Staples
  • Clipboard

006

007

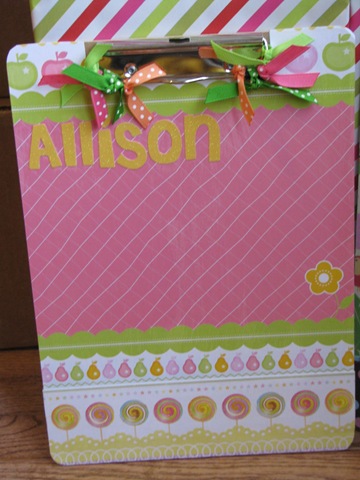
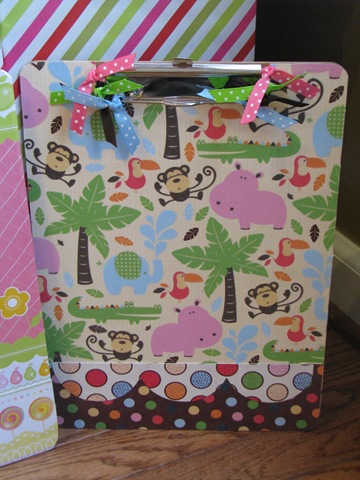
My favorite and really the only “crafty” part of this gift was the clipboards. I have always wanted to try to make a fancy clipboard but to be honest with you I never really had a reason for one until now. I LOVE the way they turned out and I know the sisters will love them too! And they were so simple. There are a ton of tuts on how to make these cuties out there in blog land, but I just went with basic knowledge.

009010 I know, I know the little sister’s doesn’t have her name on it, but it has glitter on it and she is a girl after my own heart, she LOVES anything that sparkles. (or in her words “farkles”)

I don’t have pictures of the process but here is what I did….

  • Make a template of your “naked” clipboard so that you know where to cut your paper to go around the clip part of the board.
  • trace your template out onto the paper of your choice. (the possibilities are literally endless here)
  • spread mod podge with a brush onto your clipboard and adhere your paper. I used a small rolling pin to smooth out any bubbles. Let dry
  • Add an additional coat of mod podge to the top of your paper to finish.
  • when it’s all dry you can add ribbon for added cuteness to the clip. I have seen them done with ribbon tied to cover the whole clip which is adorable but, I thought that it may get in the way and frustrate my girls, so I just added a few to each side. Still cute, right?

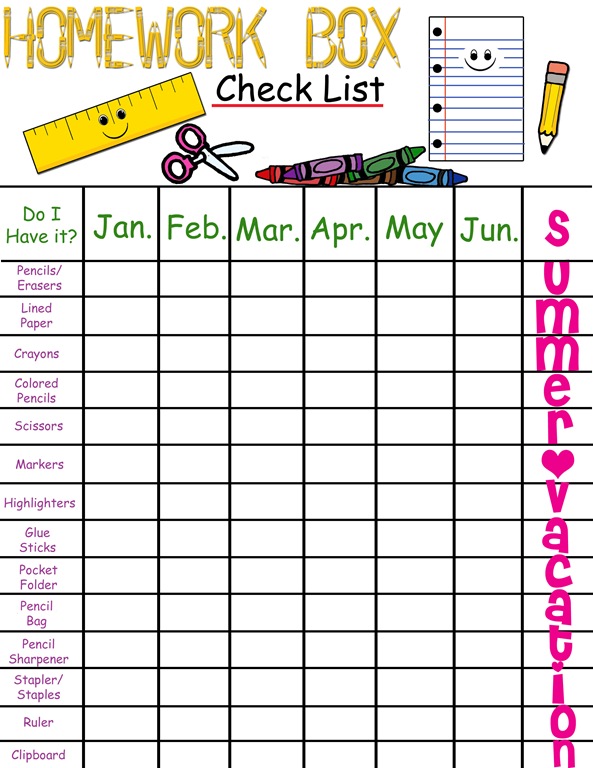
The whole point of this box is to always have everything you need on hand. No more searching for sharpened pencils or a pair of scissors. No more using school crayons for coloring crayons. No more stealing the kids scissors cause you can’t find your own. (guilty)  right????? Hmph in my house I would be lucky if this box stayed complete for 5 minutes. That’s why I decided to add the homework box checklist. I drew up some school supplies and turned them into graphics on my computer added them to sheet I created in photoshop, threw in some stickers in the box so the sisters could keep track of what they had and wala! Hopefully a way to keep these boxes organized and well stocked! It will be the girl’s responsibility to inform me when they need to be restocked and (I think) it will make them feel like they are an important part of keeping things together.

Here is the supply checklist I created. Feel free to grab it and use it as you wish. Please just tell others where you got it!

homeworkbox

Last but not least add all of your homework items to your box. I need to reprint my checklists as I just realized I had erasers twice. I plan to laminate our sheets so that they can be used more than once. The stickers should peel off of the laminate fairly easy for when we need to start over. I also plan to make another sheet for Sept.-Dec. so they can use their boxes next year too. Fun and functional! It would also be fun to make a craft or art box for fun things like coloring and painting. No time left for me for Christmas but maybe a cute Valentine gift??? You make my world more colorful! You color my world! Just thinking out loud!

012

Another key thing for these boxes is finding the perfect spot to keep them. On top of the fridge or in a closet would be a great idea…. you want them easily accessible but not too easy if you know what I mean! The Husband is in the process of making one of my crazy ideas come to life (another post to come) I can’t wait! Hopefully it will bring much organization to my not so organized life, and it will be a PERFECT spot for our new homework boxes!


jeanamarie


Here is where I am linking this post up to


mmm button

Keeping It SimpleThe Girl CreativeTexas Monkey

Friday, December 17, 2010

Xmas Vaca. and painted glass ornaments!

Well the last week of school before Christmas vaca. was a breeze………….. for the girls that is! However, after last weeks bout of Scarlet Fever with the big sister, and this weeks 2 snow days combined with 2 school parties and 1 Christmas Concert, I’m pooped! And to think there is still a long week ahead of last minute shopping, wrapping, cleaning, maybe some cookie making, and keeping two sisters, (who may or may not decide to love each other this week) occupied and content. I’m sure I left something out in there but my mind is tired just thinking about it! Don’t get me wrong, I love the Holidays, really I do. But, it just seems with the month long planning, and decorating, and excitement build up, that Christmas really should last for more than one day?!?!…….. don’t ya think? I think the husband would strongly disagree!

Both classroom parties went off without a hitch and I think a good time was had by all! Would you believe that not only did I forget my camera for 1 party but BOTH parties?? And they were on different days! OY! I’m so sad I think I could cry!

I think it’s partly because I’m trying to avoid the fact that my camera has been acting up horribly bad for sometime now…… I think it may be trying to pay me back for all of the times it’s been dropped! GASP! It’s not a fancy camera by any means but it has been very good to me! (along with photoshop)

Shhhh….. a little secret, I’m secretly hoping it goes completely so I can finally get the DSLR I’ve been eying! But until then I take what I can get with it. Not all of my photos are complete trash….. yet!

I did manage to get one terribly blurry pic of the big sister before her concert. I played around with it a bit in photoshop but my skills there are still novice so I’m afraid it still looks terribly bad not so good…..

 

018


Call me bias but, blurry or not I still adore this picture! Her sweet head of hair that is so often straight and tucked behind her ears, all dolled up in curls and a fancy mommy-made headband. Of course her curls didn’t last long and her hair was soon tucked safely again behind her ears….. at least I’ll always have my blurry photo to remember this by! :0) On a side note, don’t you just love the way those tiny little mouths take so long to grow into those adult teeth? I could just eat it up!

Those of you have been with me since the beginning, which judging by my followers is few and far between…. (hey what can I say I’m still new to all this blog world stuff.) Anyway those of you who have been here before know I tend to ramble. Another ramble here but I just realized how odd it is that if you were to meet me in person I usually don’t ramble, in fact if we are meeting for the first time I may be downright shy… something about typing just gets my words flowing. The words may not always make sense but they flow nonetheless! So if your ever visiting my tiny spot in this big blog world and you would rather not listen to my nonsense you should always scroll down, you never know when another topic or project might pop up….. just think of it as two posts in one!

Now on to the painted glass ornaments!!!

***WARNING*** this part gets picture heavy!

I first saw this adorable idea over at pittypat paperie her blog is fantastic and soon became a fast fav. of mine! You can find her tutorial for  painted ornaments here.

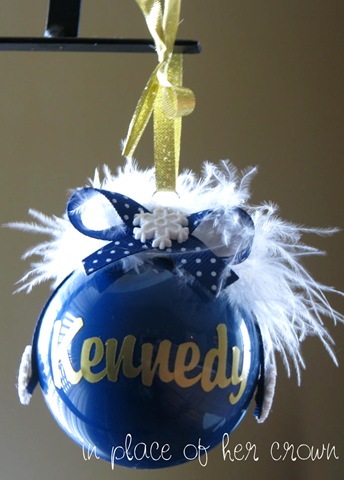
I absolutely fell in LOVE with the touch of marabou…. so shabby chic! The first ornament I made was one for the little sister.
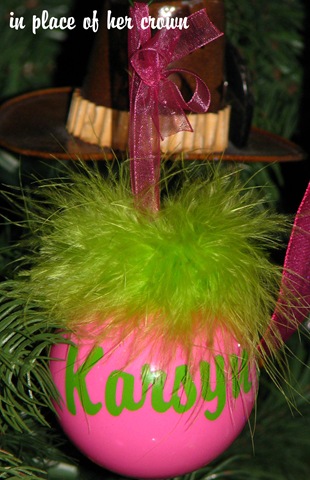
030

The next was for our new puppy Tug. OK so he’s not so new anymore. We got him last Feb., but he’s still sweet and he was lacking an ornament on our tree. I decided to leave the marabou out for this one and try something different.
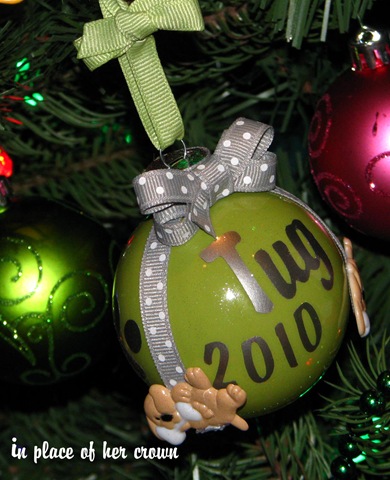
028

This is a bad shot of the other side but still worthy of putting in my post. At least I think so. His nickname is “Good Boy” so it seemed appropriate to include that on his ornament. (and just for good measure a shot of the “Good Boy” himself just to make you smile!)
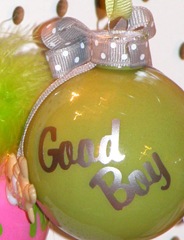
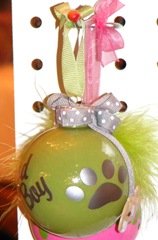
011012tug


Next up was the big sister (even though her name is fairly common and she has about a gazillion personalized ornament already)

With hers we combined the two and got the best of both worlds, marabou and charms with a bow! Of course palm trees and flamingos for my little warm weather girl!
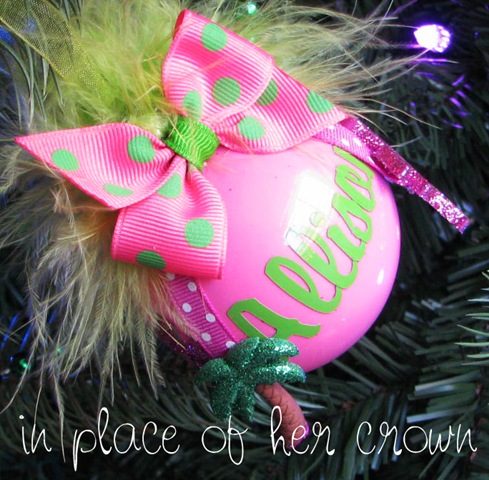
004

Here are couple more we did…

036

                   041043

The girls and I had so much fun coming up with designs for our ornaments I am almost sad that Christmas will be over soon…. stay tuned for an idea I have to make these last all year round! Just gotta hit up some after Christmas sales to find some clear ornaments and LOTS of em’

We gave quite a few of these as gifts to the girls teachers, their fav. dance teacher, and our fav. school bus driver! So sad that camera issue showed it’s evil head and I didn’t get to capture photos of the dance or bus driver ones, but I do have pictures of the adorable gift boxes we placed them in….. made using my cricut! LOVE THAT THING!!
028


504 Main
Get your craft on Thurs.


jean1

Sunday, December 12, 2010

When the snow starts falling, the Hot Chocolate starts calling!

Winter is defiantly HERE! Whoohoo!

Some may cringe at the sight of snow or the thought of cold weather, but when I look out my window and see this in all it’s beauty……..

018

I say BRING IT ON!! Bring on the snow pants, bring on the snow boots, bring on those little red noses, the crisp clean air. Bring on the snowballs, bring on the sleds, and when you can’t stand the cold anymore…… Bring on the HOT CHOCOLATE!!

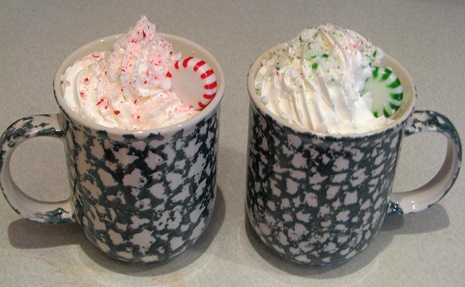
Yummy homemade peppermint/spearmint Hot Chocolate!

My kids called it “Mommy’s own famous recipe” but I’m pretty sure it’s been done before. Shhhhh don’t tell them that, this stuff made me famous! (at least for today!) *wink wink*

There’s absolutey nothing fancy or famous for that matter  about this tasty winter treat. Chances are everything you need you already have on hand!

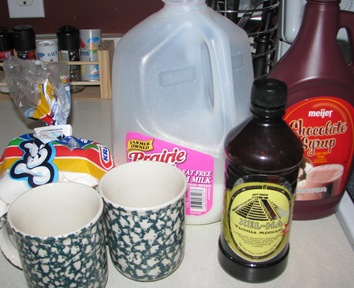
Supplies-

  • small pot
  • milk
  • chocolate syrup (powder would work too)
  • vanilla
  • Marshmallows
  • peppermint and spearmint candies crushed and whole
  • a chopper or other effective method to chop candies
  • whipped cream (not pictured)
  • glass mugs (OK so they don’t have to be glass… my girls just feel special when they get to use glass over plastic) 

007


I think I mentioned before in my deep fried Oreo recipe that I really don’t like HATE to measure things. I tend to just eyeball it.  I suppose if I was creating some elegant fancy feast I would have to measure some, but since I’m no fancy cook this seems to work out for me.

Pour your desired amount of milk into your pot. Turn the heat to medium/low. Add chocolate syrup and mix well. Let your chocolate milk heat up (stirring occasionally) while you prepare the chopped candies.

009

Add about half of the chopped candies to the bottom of your mug. I personally would just use peppermint but the oldest LOVES spearmint so she insists to have both. Plus it reminds her more of Christmas this way!

Now back to your hot chocolate milk…. before removing it from the heat add some Vanilla. Not a lot just enough to make your taste buds smile! Stir well. Pour hot milk mixture into mug until it is about 3/4 full. Stir well to mix in the candies. Add Marshmallows. We prefer two.

010

Next add whipped cream and the remaining chopped candies as “sprinkles” or “frinkles” as the youngest would call them! Gotta love her! Stick an additional peppermint or spearmint in the whipped cream for good measure and serve!

YUMMY! and a great way to warm the TUMMY!

ENJOY!

015


jean1