Saturday, February 26, 2011

Off to meet the mouse!

YAY! In just 4 short hours we will be waking the sisters, hopping in the car, and driving them back to their castle! What? I never told you the sisters were princesses? Well they are……….. most of the time! *wink*

I’ll be neglecting my blog for the week but fully intend on journaling each day of our trip so that I can come home and report here. You don’t have to read if you don’t want too it might be too much like watching other peoples home movies. But, I’m super excited that I will be able to look back here and relive the magic! *wink*

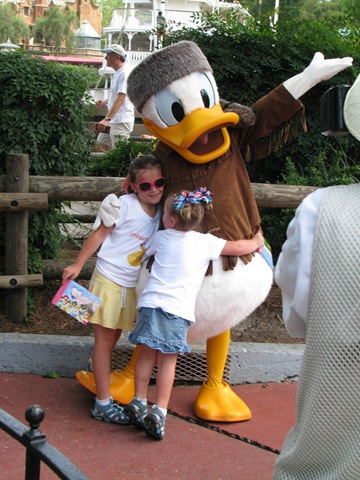
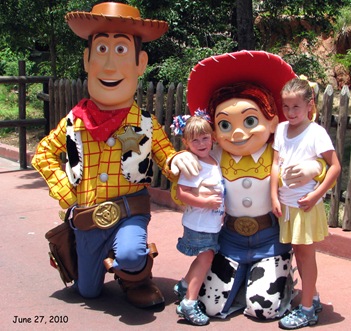
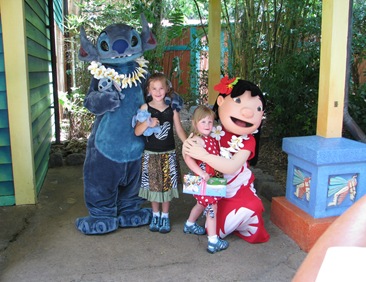
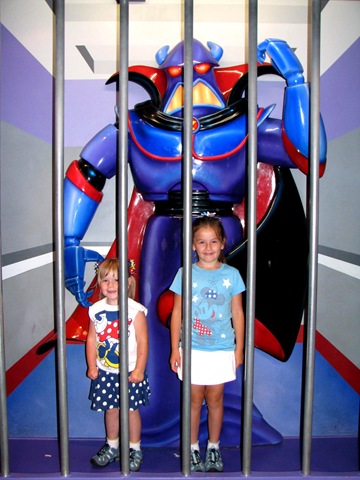
I’ll leave you with a few ton of pictures from our previous trip (June/July 2010)

Wait before we get started I need to give a big shout out to my totally rad father in law who will be living at our house next week to take care of all our critters while we're gone!

(I really don’t think my father in law reads my blog but incase he does at least now he knows he’s totally rad!)

Alright then now that that is out of the way, heeeere we go!


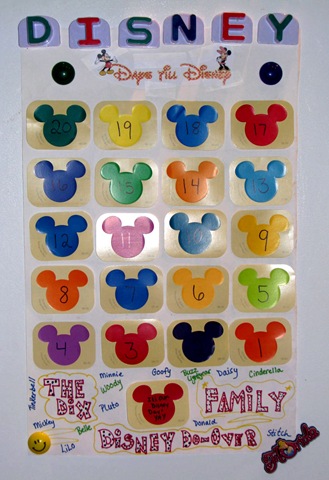
Our count down calendar. I though for sure I would get in trouble for taking so many mickey head paint cards from Home Depot.

Bad bad Momma this year we had no count down. Boo!

In case your wondering and even if your not, the reason this says Disney do over is cause our very first trip to the world was bad, very, very bad! I won’t go into detail here. Just think sickies. Stomach sickies! YUCK!

002 (14)

The second trip was much much better! (crossing my fingers that the third is just as good!)

Ok. Back to the show!

009 (11)

345 (2)

360 (2)

367 (2)

371 (2)

401

508 (2)

518 (2)

573

566 (2)

Alright I’ll stop boring you now. I gotta get up in 3 hours! Yikes!

Have a great week!


jean1

Friday, February 25, 2011

DIY 10 minute ribbon loop shorts

 
*DISCLAIMER*
The following tutorial pictures are very bad. They were taken indoors, at night, with my poopy camera. They don’t do these cutie pie shorts any justice. It is exactly 11:37 pm and I just finished making these shorts about 45 minutes ago.
“But you said in your title the shorts only take 10 minutes?”
  Yes, the shorts did only take 10 minutes. Yes I timed myself. I did however forget to start timing until after my ribbon was cut. (So I guess the 10 minutes was kinda a lie! Yikes sorry about that, but still they didn’t take too long.) What did I do with the rest of the 35 minutes you ask? Why I spent that time trying to edit the yucky-ness out of my pictures of course. Guess what? It was a waste of 35 minutes. For serious. Just see for yourself…..
 
Here are the shorts…
Cute right? (try to look past the yucky picture) I think so. If you don’t really care for them you probably won’t want to read on, but if you {heart} them like I do keep going I’ll tell you how I did them!
*another DISCLAIMER*
I am not the genius behind this idea. (darn it) I’m pretty sure these babies have been around a looooooong time. I have seen it done to shorts. I have seen it done to pants. I have seen it done to skirts. I’ve tried them all and all are equally cute! I did not follow any tutorial to make these, in fact I probably do them all wrong. But, the way I do it works for me and it only takes 10 minutes. (give or take a few) How can you beat that?
 
Here is what you need:
  • Shorts, skirt, or pants old, new, or used it all works here!
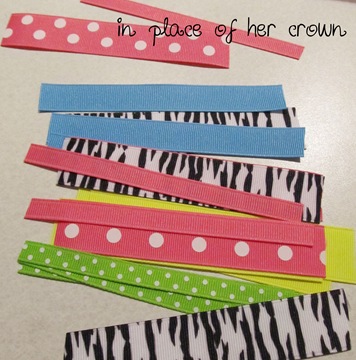
  • ribbon scraps various colors and widths
  • sewing machine
  • thread
Here is what you do:
Cut your ribbon into your desired loop length and determine about how many cuts you will need. Lighter your ends so they don’t fray. (shh! I forgot that step don’t tell.)
Remember I’m just wannabe sewer. I’m pretty sure I tend to leave out some of the steps that a “real” sewer might use. One of my deep dark secrets is that I despise using pins. GASP!!! I know yikes right? I think I just heard all the seasoned seamstresses' jaws hit the floor! So if you decide you want to pin all your pieces in place first, go ahead. I’ll wait for you…….
Ok, are you back? Sweet! Let’s get started!
Place one leg of your shorts around your machine under your needle. At this point it doesn’t really matter too much where on the shorts you start your sewing.
Fold one end of a ribbon scrap up to meet the other end to form a loop
Awwww c’mon don’t be jealous of my manicure ladies. I have a sweet manicurist.
She’s fabulous! She’s free! She’s four! *wink*
 
This is where my tutorial goes a little wonky. I didn’t actually decide to do a tutorial until I was half done.  I already have a few loops sewn on in the next picture but you get the idea.
Keeping your ribbon in “loop” form place in on your pants right where you want it to lay and start sewing. Go slow and steady so that you can stop about midway through your loop, add another loop and keep going until you have finished all the way around.
I know, I know! If I would have just added a couple more steps and pinned my loops in place I could have avoided all that starting and stopping. This works for me though, so why fix it if it’s not broken? Am I right? LOL!
Here is what your finished leg will now look like…
Ha! I’m so laughing at myself right now. Notice my stitches don’t even line up? I told you I was just a wannabe! No worries though, next we're gonna cover that part up!
Take another piece of your choice color/width ribbon. Your gonna want this piece long enough to go around your pant leg. Measure if you prefer, but I just kept mine on the spool. *wink*
This time start at the inseam of your pants and sew the long ribbon piece right over the top of your ribbon loops. Make sure your are lining the edge of your top ribbon piece flush with the edges of your ribbon loops. Keep sewing all the way around until you reach your starting point. You can finish a couple different ways. Usually I fold under the edges of the top ribbon where they meet at the inseam and sew right over the fold. This time I wanted to go quick so I just sewed to where they met cut off the extra and lightered the edges so they don’t fray.
Repeat all of the above steps and wala! Your done!
Pair em’ with a matching shirt, a bow, or a sweet little clip and you’ve got yourself a totally cute, fantastically fast, semi homemade, boutique-ee looking outfit!
I’d love to see pictures if anyone decides to give it a try!
 
jean1
 
Check out where I’m linking up….
image


Thursday, February 24, 2011

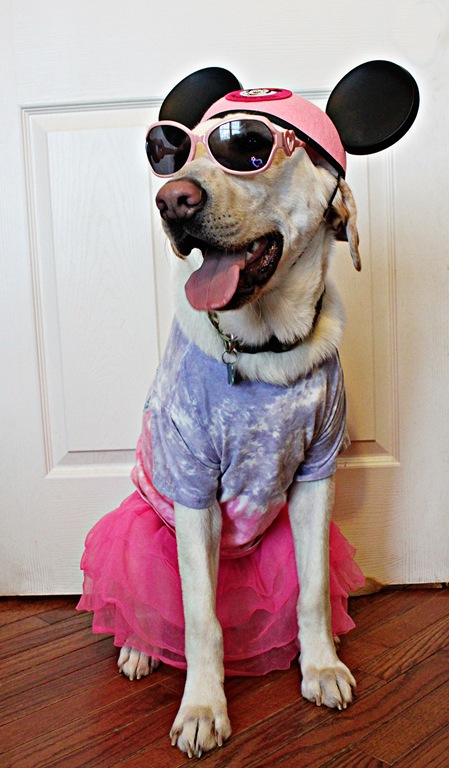
Did I ever mention that my dog is a really good sport?

Well, if I haven’t. He is. And if I have, Just keep reading to see how awesome he really is…..
Because, well, seeing is believing.

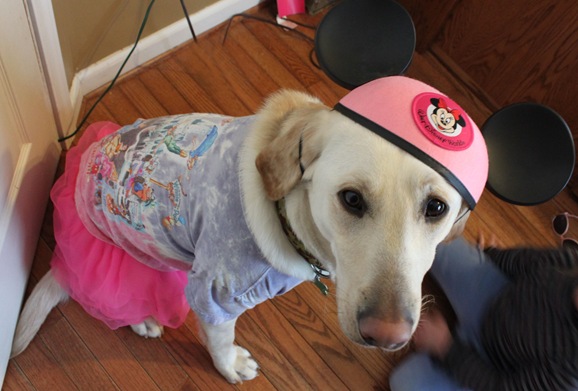
Tug was sad when we told him he would have to stay home with Grandpa while we went on vacation. All in all I think he took it pretty well…..

070
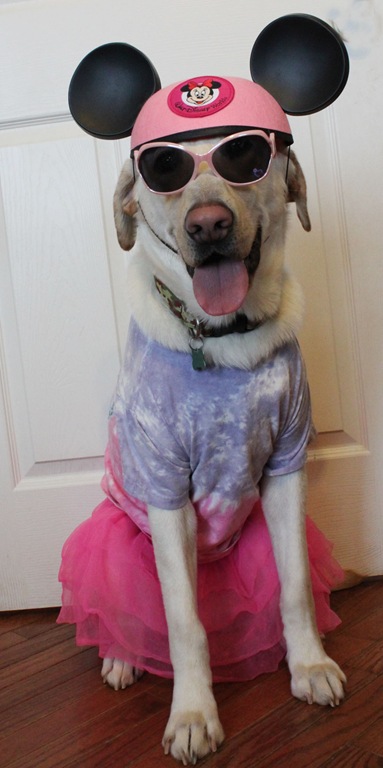
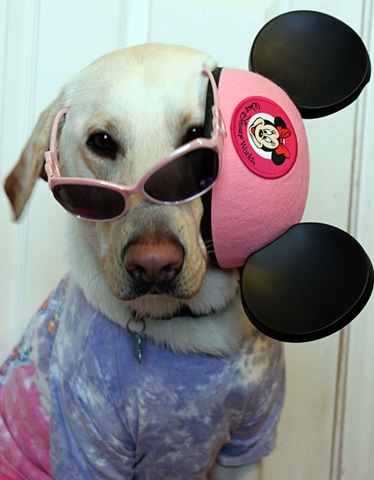
But maybe, he thought, if I could just disguise myself well enough as a tourist to go unnoticed, then maybe just maybe I could still come?
060edit
 063edit
Sorry Tug, but you still have to stay. Be a good boy!
069 copy
Don’t worry, incase you were wondering all this humility did not come without reward.
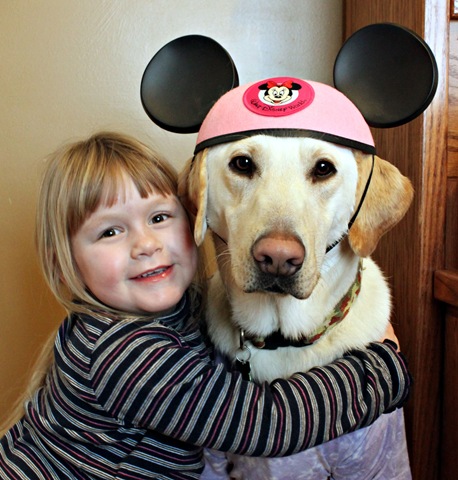
When he was done he got a few of these…
tughug
A couple of these…065
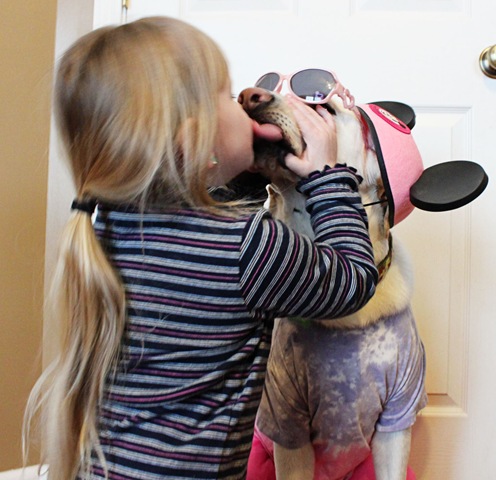
And a whole lotta these…
074
To all of the “non dog people” reading this, who I know were just cringing at the big ,sloppy, nasty dog tongue, that just so happened to be slurping up that pretty little 4 year old girl, I am truly sorry you had to witness that. I am a total dog lover, and while I would own a million dogs if I could, I despise doggie kisses. For serious I do!……. The little sister on the other hand…. Well, I think she kinda loves em’! That is all.
jean1
504 Main

Monday, February 21, 2011

Pretty Pretty Princess


The big sister was insistent that I do not make her any clothes for this trip to Disney World.
“Mom I’m not trying to hurt your feelings, but the clothes you make aren’t really my style.” *Sniff* bless her little heart!
In my defense I really haven’t made her that many things. Remember I’m a just wannabe sewer. I can count on 1 hand how many outfits I have actually completed.
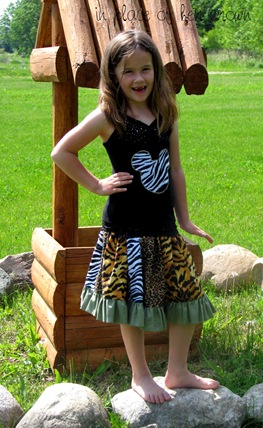
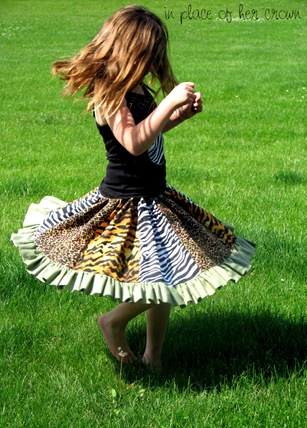
Here are the outfits I made the sisters for our last trip to Disney in July..
002 (2)003 (2)
006 (9)008 (6)
Oh Gosh, let me tell you. I had the biggest plans for this trip! I was going to make the sisters outfits for everyday we were there. See the above pictures? Well guess what? That’s as far as I got!
I didn’t even bother making the big plans for this trip. I knew they would never get finished! However, the one thing I knew I wanted to make was the Cinderella dress that Ashley of Make it and Love it  posted a tutorial for around Halloween time. I tucked that tutorial away in a safe computer place and saved it for this very occasion.

This dress idea created quite a few firsts for me.

I had never made anything with sleeves before
I had never even dreamed of working with stretch fabric

Satin? for real?

Neckline? I think I can I think I can!
    Ashley, you are awesome! I don’t think I ever would have attempted any of this if not for your generosity and your flawless tutorial. For serious, you even made this project easy for me!
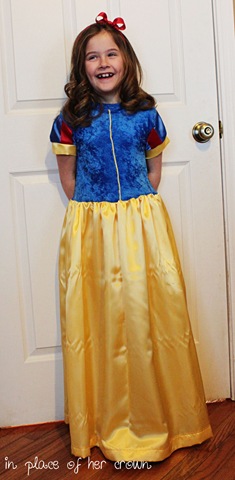
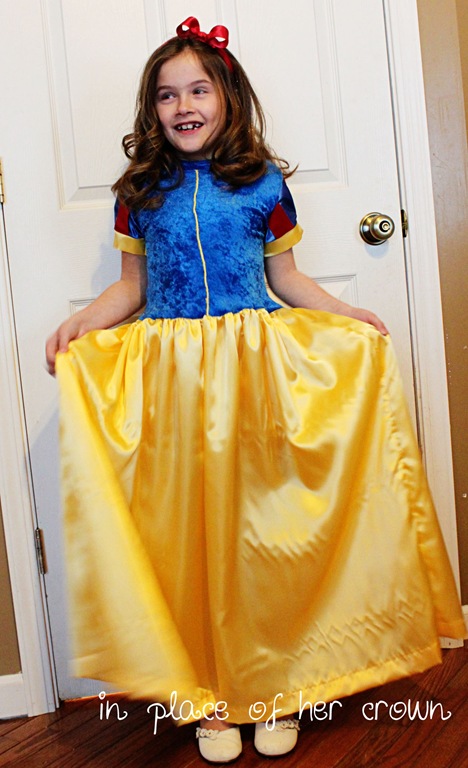
    And so without further ado, here is my Snow white version using almost all of Ashley’s instructions, and even a few tricks of my own! 
    024 005
    008
    The big sister is a bit picky about her clothing so she decided that she would rather me not make that signature Snow White collar thingy or the cape.
    013
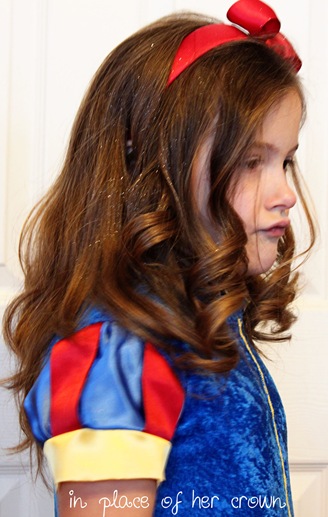
    All I did for the sweet little Snow White sleeves was add 3 strips of red satin ribbon by sewing it on top of my cut out sleeve before turning it to the actual sleeve. This took some trial and error but in the end I think I came up with a great concept! *wink*

    jean1

    Linking up to these great parties…

    Sunday, February 20, 2011

    It’s not perfect, but I made it and she {hearts} it!

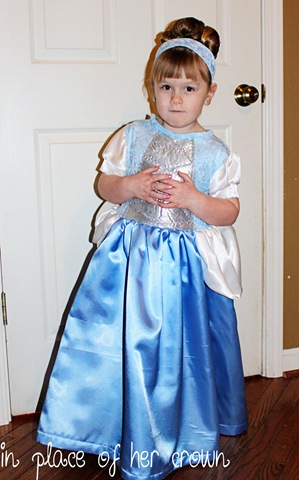
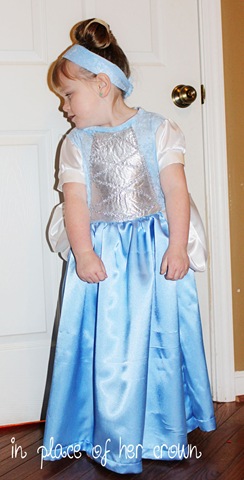
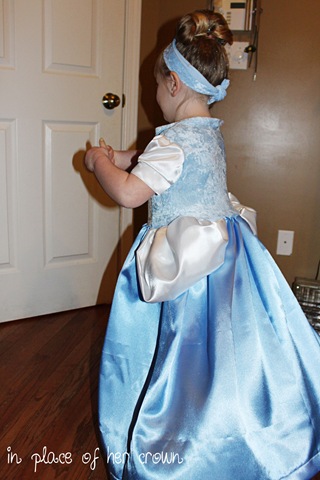
    OMGoodnes! I don’t think the little sister has ever been more excited in her life! And I owe it all to Ashley over at Make it and Love it!
    Ashley, you don’t know me, but you are my new BFF! (and my daughter’s too!) Your blog is AHHHHHmazing, and I have only begun to skim the surface!
    Honestly I’m just a wannabe sewer. I long for the day that I can sew like a pro. All you seasoned sewers will most defiantly be able to tell this when you look at my pictures, but this just goes to show you how fabulous Ashley’s Cinderella dress tutorial really is! It is because of said tutorial that I, the wannabe sewer was able to make my little girls dream of looking just like Cinderella come true!!
    *Warning* the following pictures were taken  indoors at night. Sorry for the poor quality!
    014
    She is beyond thrilled to be able to be just like her favorite princess while eating breakfast in her castle!
    004
    She is still patiently waiting for the matching accessories. For now all she got was a make shift headband. But hey, it kept her happy!
    016
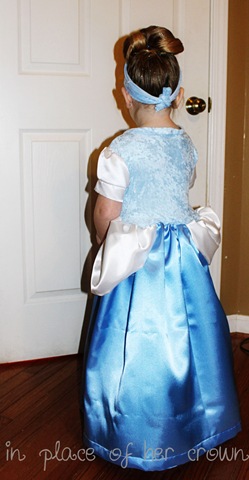
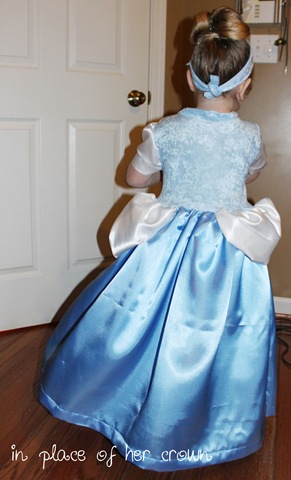
    And don’t forget the signature Cinderella hair. I have to perfect this but there may be a tutorial in the works.
    *Disclaimer*
    Please seasoned sewers try not to cringe at my neckline. I decided to do this part last for some reason, but it was late, and I was tired, and remember I’m just a wannabe sewer!
    008
    After she was “good” and stayed still long enough for me to snap some pictures,  she went wild and never stopped twirling!
    018
    Upon conclusion the little sister has decided she must be Cinderella for Halloween this year. That’s my girl, always thinking ahead!
    017
    I followed Ashley’s tutorial almost to a “T”. The only thing I did differently was to x-nay the velcro closure in the back, and hem the bottom skirt before attaching it to the dress. Not for any reason in particular just that I was having a heck of a time with those to steps!
    Remember I mentioned the big sisters dress in another post? It is done but for now all you get is the sneak peek again until she wakes up in the morning to try it on!
    Can you guess her favorite princess yet?
    image

    *Confession*
    This is actually the 2nd Cinderella dress attempt. I can’t tell you where I went wrong with the first one. The only thing I can tell you is that I was sick, I was tired, and when I started it was late. However, I was so excited after I returned home from the fabric store that I couldn’t wait. Bad idea!

    jean1


    Linking up to these great parties!

    Texas Monkey